
(Updated March 30, 2022).
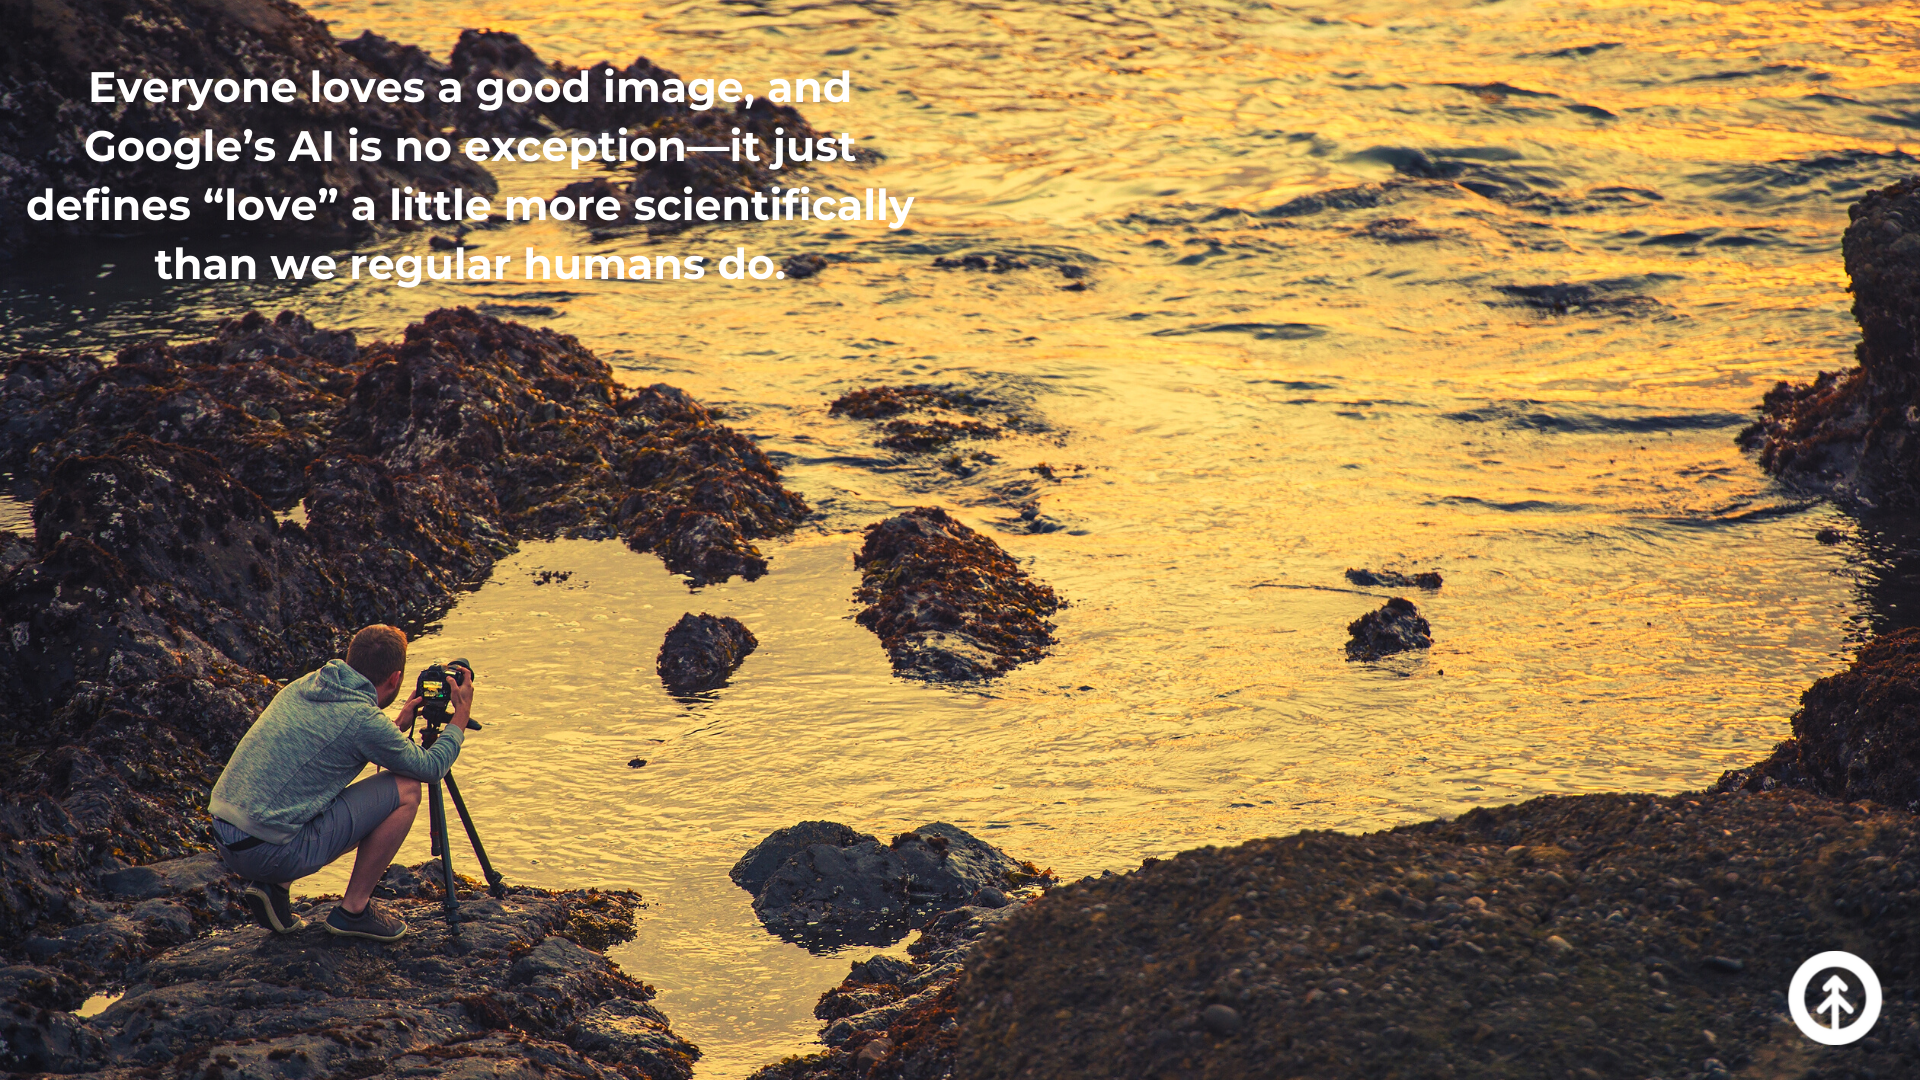
Everyone loves a good image, and Google’s AI is no exception—it just defines “love” a little more scientifically than we regular humans do.
Much like the way Google chooses articles that are relevant and valuable to your query, it wants the images in those articles to do the same thing—only with high-resolution and speed. In short, they want images optimized!
To help you SEO your images just as you do your blogs, landing pages, and web designs, we put together a few pro tips approved by our Growth Design and Development wizard, Ross Goodman.
Pro Tip 1 - Choose the Best Format (JPEG v. PNG)
Use a JPEG unless it’s an image that would benefit from the addition of added line drawings, graphics, animations, or gifs.
Pro Tip 2 - Grab Interesting & Unique Images
Even if you’re using stock images, the time you spend making an image choice that everyone hasn’t already seen online goes a long way toward your SEO. Avoid using the same image twice in your digital assets.
Pro Tip 3 - Be Aware of Copyright
Best practice is to pay a photographer or get an Adobe stock image subscription (or buy them individually), here’s a great list of places to pick up great free images that won’t get you sued for copyright infringement. Yikes!
Pro Tip 4 - Sitemap It!
Sitemapping your images boosts the chances that Google will crawl around on them for indexing. And, let’s face it, that’s kind of everything. Especially since your website is your lead generation machine!
Google says:
“Images are an important source of information about the content on your site. You can give Google additional details about your images, and provide the URL of images we might not otherwise discover by adding information to an image sitemap.”
Pro Tip 5 - Name Image Files Well
Name files for your images to something specific, relevant to the image (don’t stuff keywords), and as short as possible.
For example: "my-manx-kitten.jpg" is way better than "IMG00045.JPG" and helps a Google crawl pick up some good information that makes the image (and your blog) rank higher overall.
.png?width=1920&name=Image%20Optimization%20SEO%20tips%20Growth%20Marketing%20Firm%20(2).png)
Pro Tip 6 - Size It Right for Speed
Uploading images at the maximum width you need for your website ensures that the whole thing loads quickly and together—and it’s one of the first things you should think about when building a site.
For example, if you have a 5000px wide image, Google would still need to load it, even if your website displays at 720px.
Ooof. Molasses.
Check with your CSS to figure out the width your website wants and size your images to match.
Pro Tip 7 - Compress It!
Images that are compressed increase site speed, and that means next level customer UX. That’s everything to you, your customers, and (believe it or not: Google!).
Using these free tools to compress your images: ImageOptim for JPEG and TingPNG for PNG.
Pro Tip 8 - Implement Lazy Loading
Lazy loading is the process of telling browsers to load images only when a user needs to see it on screen.
Google says:
“Lazy loading can significantly speed up loading on long pages that include many images below the fold by loading them either as needed or when the primary content has finished loading and rendering.”
There are many different ways to implement lazy loading, but they all involve Javascript. If you’re not used to Javascript, hiring a good developer to handle this for your images is completely worth it.
Pro Tip 9 - Use Vector Graphics for Logos, Art, & Elements
Vector graphics are specifically used for logos, artwork, and simple elements on your website.
The World Wide Web Consortium (W3C) developed the best vector format, SVGs (Scalable Vector Graphics). They’re XML-based, and Google supports it—as do all modern web browsers now.
Pro Tip 10 - Remember Schema Markups
Useful for recipes, products, and videos, schema markups help users identify what kind of content they’re looking at and are especially helpful for ADA compliant websites (which should be ALL of them).
Google says:
“If you have images on your site, you can help users identify the type of content associated with the image by using appropriate structured data on your pages. This helps users find relevant content quickly, and sends better-targeted traffic to your site.”
For more:
Learn recipe schema markups.
Learn product schema markups.
Learn video schema markups.
Pro Tip 11 - Utilize Browser Caching
Browser caching involves storing images and other files in your visitors’ browsers so that these heavy elements can load faster next time they visit your site.
The process for creating and customizing browser caching for your site is fairly simple for most design platforms, and it helps with the speed of your website significantly.
Of course, SEO is a vast, ever-changing and mysterious practice. Even so, these tips should give you a good start toward making sure your website and its content makes its way to the top of the rankings to grow your business.
Want to see how your website holds up to scrutiny? Our website grader knows all!
For more ways that Growth can push your business to the head of the pack, just ask us! Ross, and our other Growth experts are right here!

Recent posts